Sharing Team Projects
Got a team project and want to make sure everyone gets the recognition they deserve? We’ve made it super simple to include your collaborators so the entire team can share the spotlight. Here’s how:
Adding Collaborators to Your Project
Start Your Project
Create a new project, adding all your media—images, videos, text, and anything else you want to showcase. Refer to Uploading Your Work article if need help with this step.
Proceed to Step 2
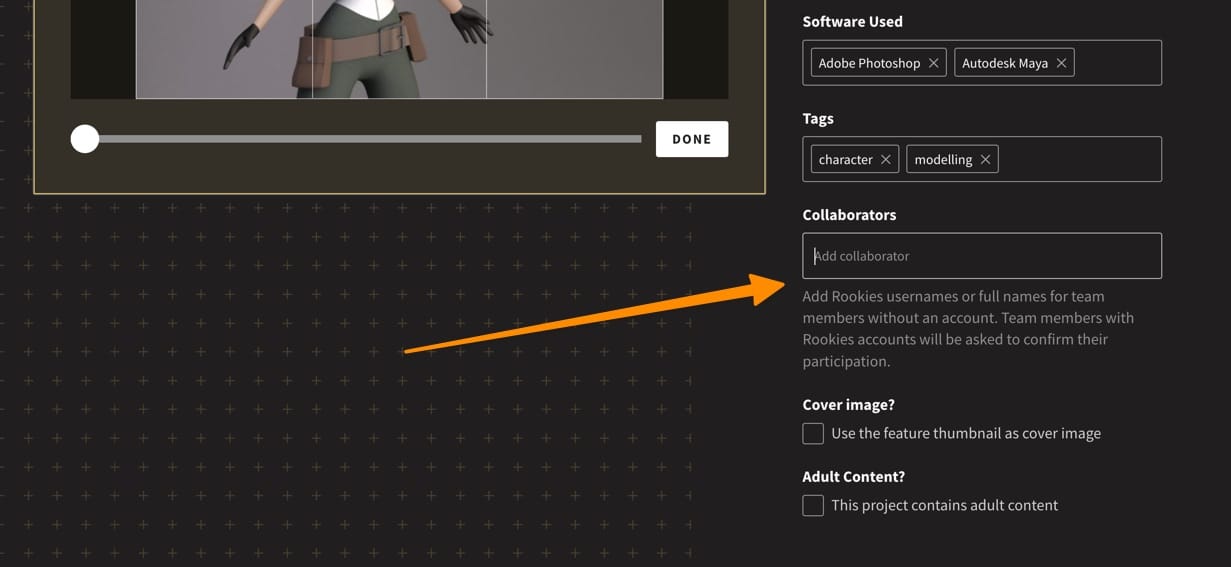
Once you’ve added your content, click Continue to move to Project Details. This is where you’ll add the project’s title, description, tags, thumbnail image, and—of course—your collaborators.
Add Collaborators
Start typing the name of your collaborator in the Collaborators field.

If they’re already a member, their name will appear in a dropdown for you to select.
If they’re not a member, you can still add their name as plain text. This won’t connect to their profile but will ensure their name is visible on the project.
Collaborators Not Appearing?
When you add collaborators to a project, the members are not automatically added. There is an approval process in place to prevent people adding the wrong person by mistake.
When you add a collaborator, they need to approve the request. We notify them via two methods:
- They will be sent an email asking them to approve the collaboration request.
- A message will also appear in their notification area on the website.

If for some reason, the team members miss these notifications, they can also go directly to the Collaboration Request page. This page can be accessed by going to https://www.therookies.co/dashboard (shown below).

The team member can then Approve or Reject the request.
If they Approve the request, they will be connected to the project page. Their name will appear as a link at the top of the page, and the project will also appear on their portfolio page.