Submission Overview
Submitting your entry to the Rookie Awards is your opportunity to showcase your talent and gain recognition in the creative industry. This overview will guide you through the submission process, ensuring you’re ready to present your best work.
1. Read the Getting Started Articles
Before you begin, make sure you’ve read the Getting Started and Planning Your Entry articles. These resources are crucial for confirming your eligibility, understanding the contest briefs, and deciding which category groups and content best fit your work.
2. Visit Rookie Awards Contest Page
When you’re ready to enter, navigate to the Rookie Awards Contest Page. Here, you’ll find all the details about the current contests and available categories for submission.
3. Click the “Submit Entry” Button
On the Contest Page, locate the Submit Entry button and click it.
4. Enter the Page Builder
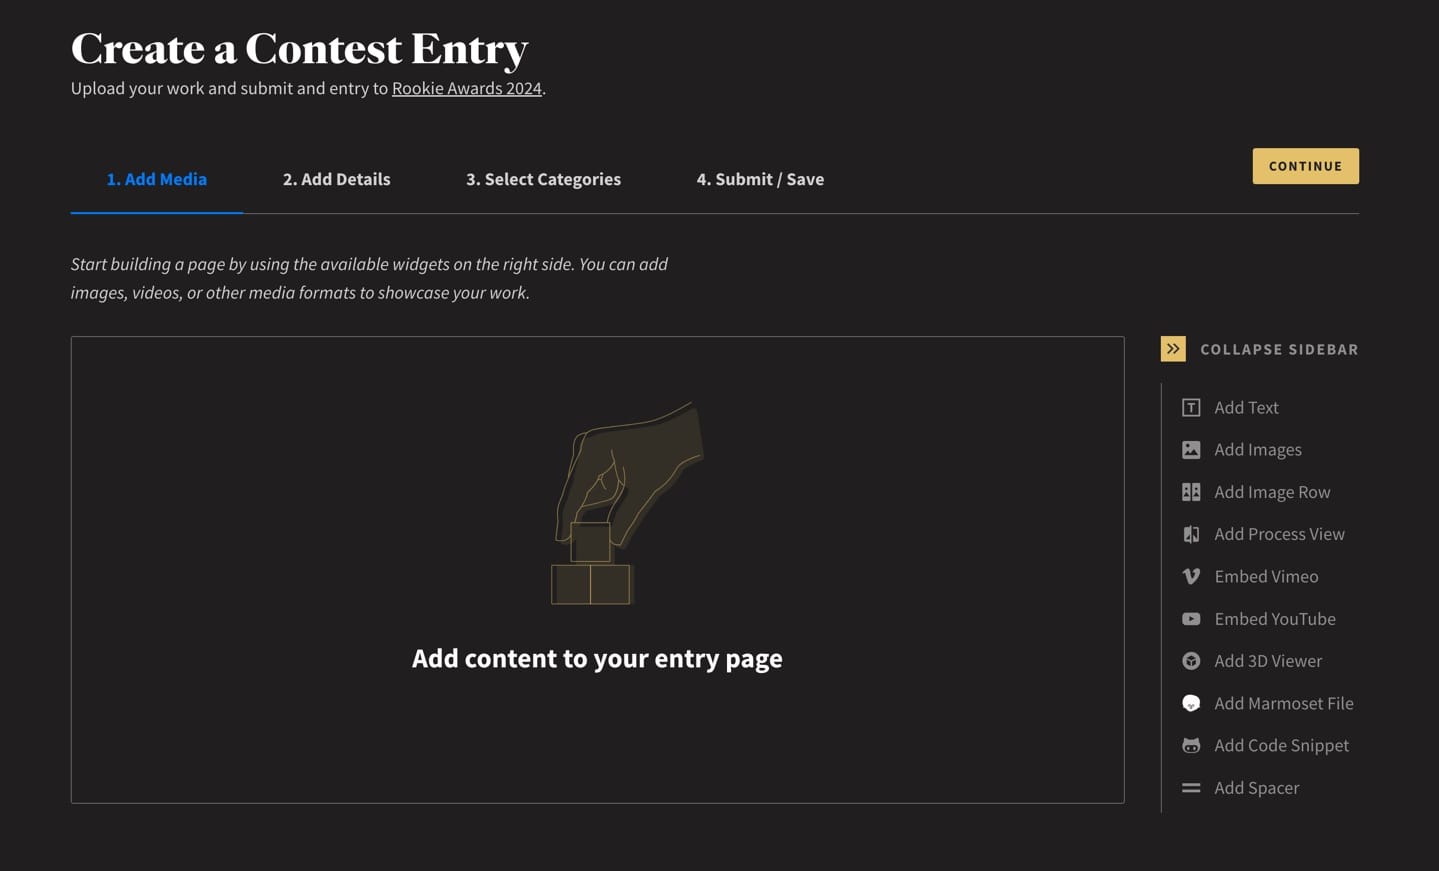
After clicking Submit Entry, you’ll be directed to the entry Page Builder. This tool is similar to the one you’ve used for adding projects to your portfolio, with a few additional steps tailored for contest submissions.

5. Navigate Through the Page Builder
The Page Builder consists of four main steps that you’ll work through from left to right:
- Add Media: Upload your images, videos, and other media.
- Add Details: Enter your title, description, tags, and other relevant details.
- Select Categories: Choose the appropriate category that best fits your entry.
- Confirm & Submit: Review your submission and finalise your entry.
As you move through each step, ensure that your content is well-organised and clearly presented to make a strong impression on the judges.
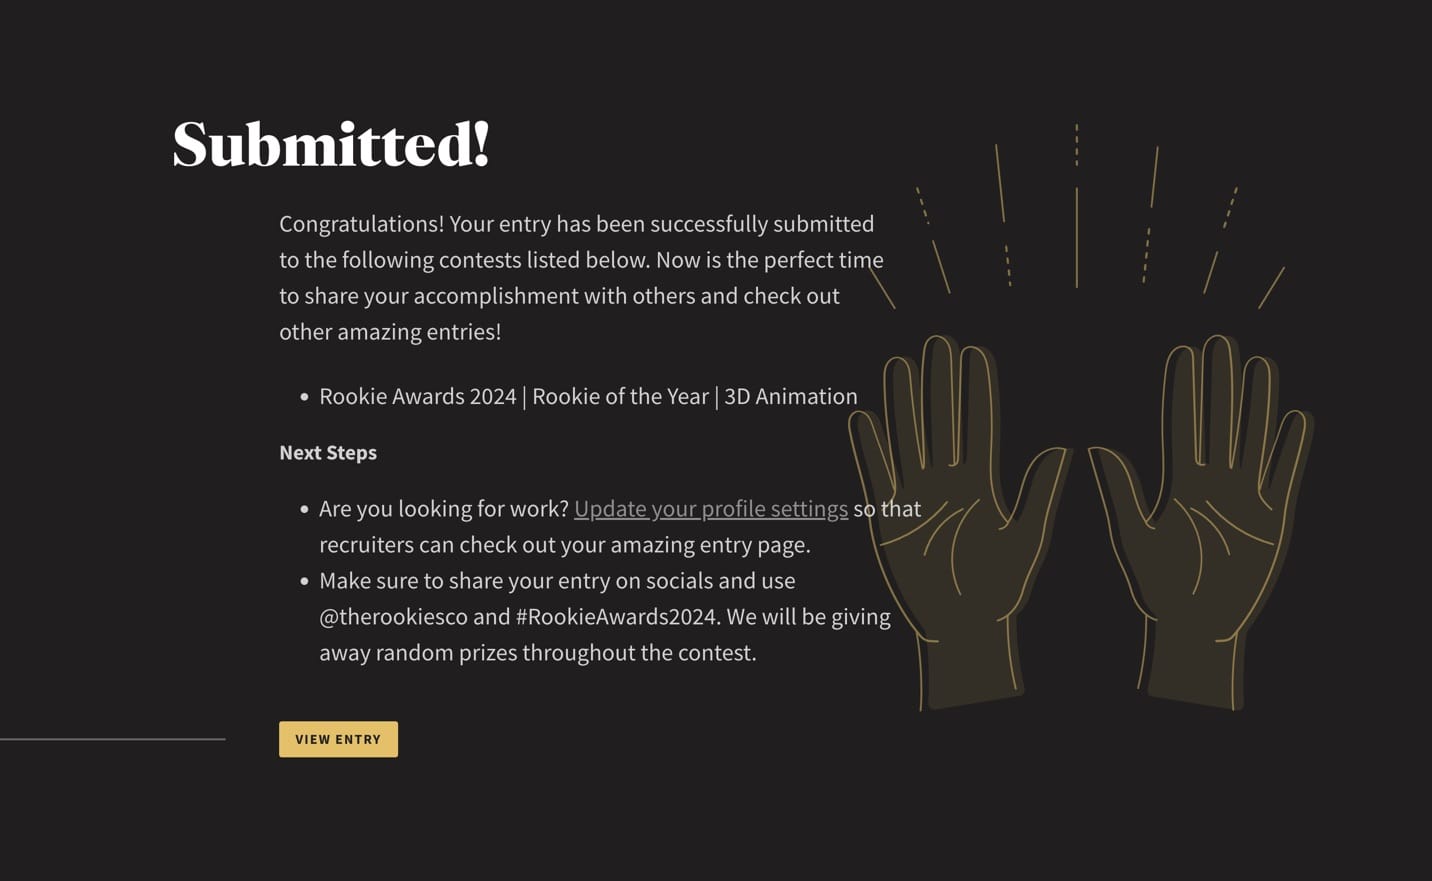
Once you have successfully submitted your entry, you will presented with a Submitted confirmation page!

With this overview in mind, let's start your submission. Proceed to the next article, Step 1: Add Media, and create a page that showcases your skills.